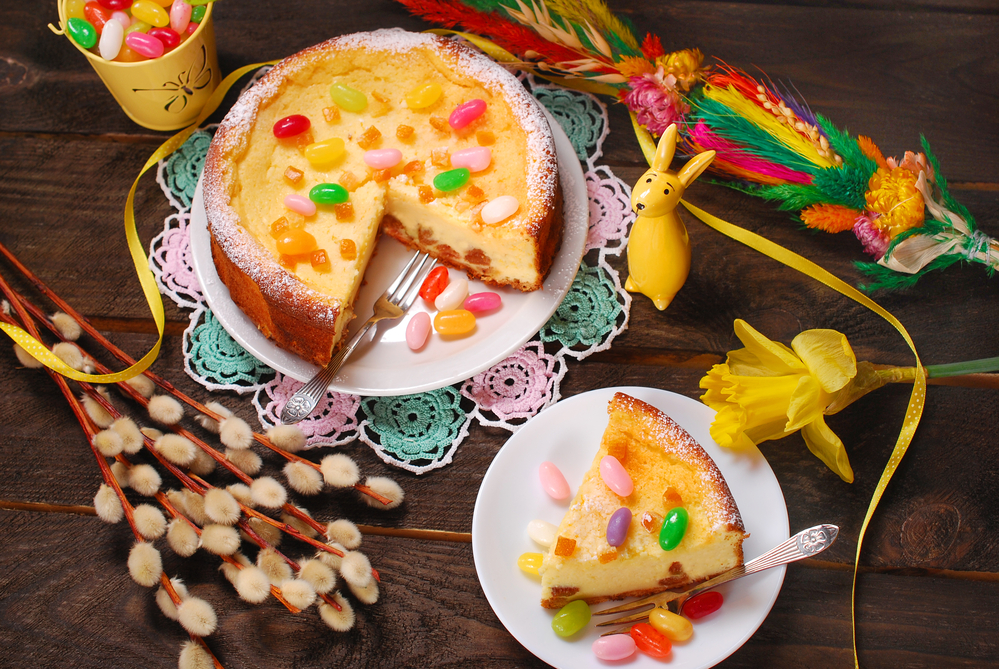
So, you want to make sernik. Decadent yet understated; this simple Polish cheesecake is a European gem.
Cheesecake sernik is special because of the kind of cheese used in its making: twarog, which is distinguished by its creamy yet firm texture and a naturally sweet and subtly sour flavor.
Sounds mouth-watering, we know. So, here’s all you need to know to make your very own sernik!
The Composition of a Sernik
How is a sernik Polish cheesecake constructed?
First, the crust is usually made of sweet pastry, but some people like using crumbly cake or sponge cake. For the easy crust, you won’t need any special ingredients; just your regular butter, eggs, sugar, and so on.
But the filling of the Polish cheesecake is where things start to get interesting. It is made of twarog (pronounced TVAH-rroog), the special Polish dry curd cheese essential for a Polish sernik cheesecake (and used in many other Polish recipes!).
The Importance of Twarog
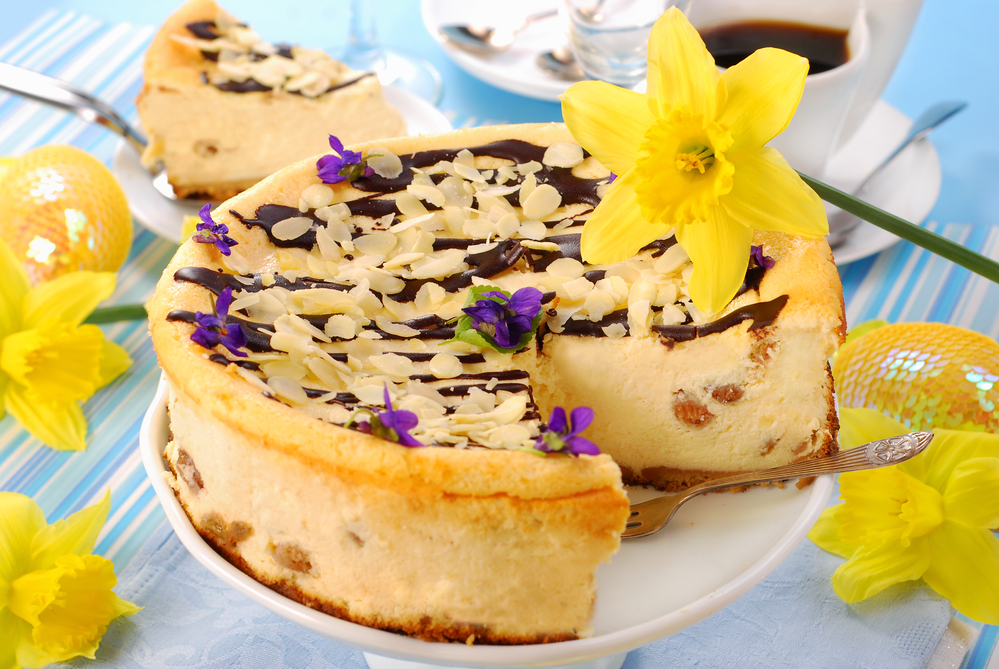
Twarog is the star of the show here and in many other Polish desserts. Although you can create a beautiful sernik filling by adding raisins, fruits, chocolates, and other toppings, this is completely optional – the cheesecake will taste wonderful regardless, all on the strength of the twarog.
One setback you might face when making sernik is the issue of sourcing twarog cheese. Your best bet is to look for this cheese at a gourmet Polish deli, but you might want to use quark instead if you don’t find it there.
Quark is the best alternative to twarog cheese, but it can’t replace it. Twarog contains a fair bit of fat, while quark’s fat content is lower. Twarog also tends to be firmer.
The fact is, whether you use quark, cottage cheese, cream cheese, farmer’s cheese, or curd cheese for your cheesecake filling, you’ll come away with a yummy dessert.
But will it yield the same traditional Polish cheesecake? No. For that, there is no true alternative to twarog cheese, even if it’s Polish farmer’s cheese.
What You’ll Need to Make Sernik
Ready? The prep time for sernik is approximately 3 hours, so strap in. Here’s what you’ll need:
Ingredients
For the Crust
- 1/2 cup sugar
- 2 cups all-purpose flour
- 3/4 teaspoon baking powder
- 2 large egg yolks, room temperature
- 6 ounces (3/4 cup) cold butter, unsalted, divided
- 3 tablespoons sour cream
- 1 large egg (optional)
For the Filling
- 2 pounds twarog
- 4 large eggs, room temperature
- 2 cups sugar
- 5 ounces unsalted butter, room temperature
- 1 teaspoon pure vanilla extract
Equipment
- Food processor: such as meat grinder, potato ricer, or blender
- Springform pan (round or square)
- Whisk
- Stand mixer or electric mixer
- Bowls
A Note on the Equipment
In order to create the perfect filling for your sernik, you must grind twarog in your food processor two to three times. The most common tool used to do this is a meat grinder, as it allows for quick and easy grinding, regardless of the amount of twarog you have.
However, you can also use a potato ricer if you’re making a small Polish cheesecake sernik. A blender can also be used, and it is the grinder of choice for many home cooks who believe this technique yields a smooth twarog cheesecake filling with no lumps.
How to Make Sernik: Polish Cheesecake Recipe
And now, it’s finally time for the best part: making the sernik! Here’s the full step-by-step guide:
Step 1: Make the Crust
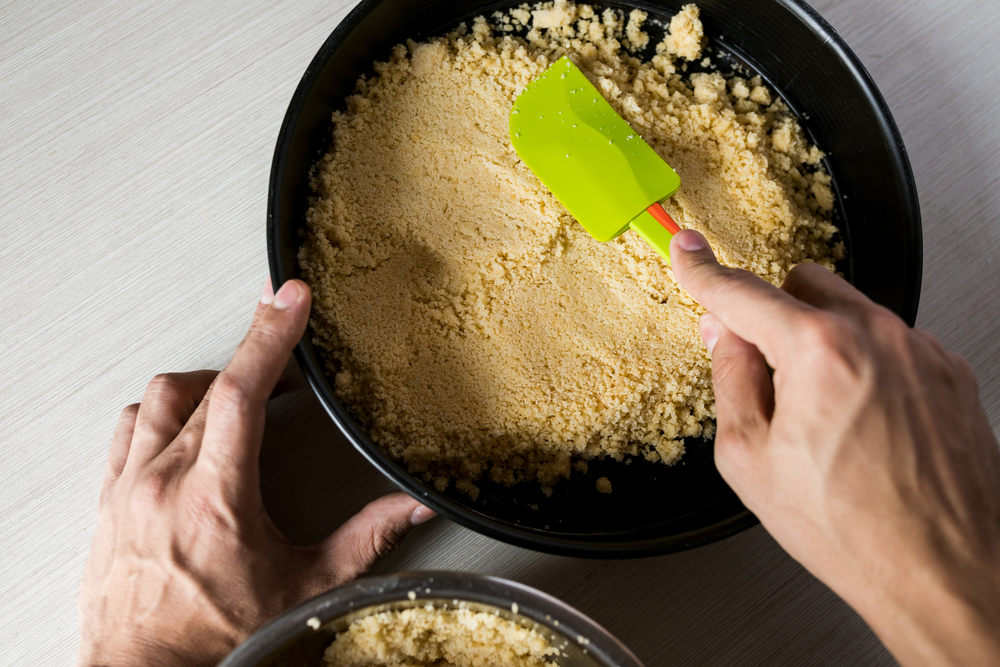
Gather your half cup sugar, flour, and baking powder in a bowl. Mix it all together with a spoon or use a food processor.
Now, add 5 ounces of the cold butter into the food processor and pulse. You can also cut it in. Keep going until you get a sandy, pie-crust like texture.
In a separate bowl, mix the sour cream and egg yolks. Add this egg mixture into the butter-flour mixture you created before, pulsing as you go.
Does the dough seem a tad dry? Add the whole egg.
Is the dough kind of soft? Please put it in the fridge for 1 hour and allow it to firm up.
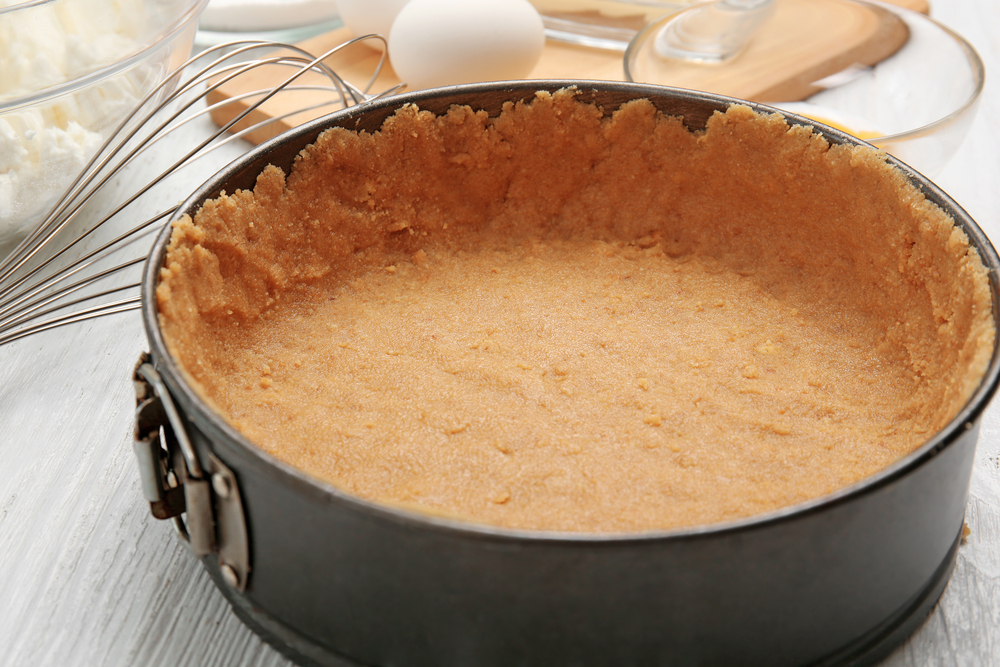
Now, it’s time to prepare your springform pan. Grease it lightly using the 1 ounce of butter you have remaining. Get your rolled dough from the fridge (if you put it there) and fit it into the springform pan, creating a rolled or crimped edge.
Step 2: Process the Cheese
Put the cheese in your chosen food processor. Process it until there are no big lumps left in it. (Pro tip: be careful not to overmix if you’re using a blender; a creamy texture is preferred).
Now put the processed cheese in a bowl and let it sit while you make the filling.
Step 3: Make the Filling
Now it’s time for the most fun part: making the twarog filling!
Before you start, preheat the oven to 350ºF for later.
Next, get your eggs and separate the egg whites from the egg yolks in a separate, large bowl. Using your whisk, beat the egg whites until they form stiff peaks.
Now turn your attention back to the egg yolks. Add the 1 teaspoon pure vanilla extract to the egg yolks and thoroughly mix until you get a creamy texture.
In another large bowl, cream the sugar and butter together until it reaches a fluffy, light texture and consistency.
Now, add the butter and sugar mixture to the vanilla extract and egg yolk mixture from earlier. Mix it well.
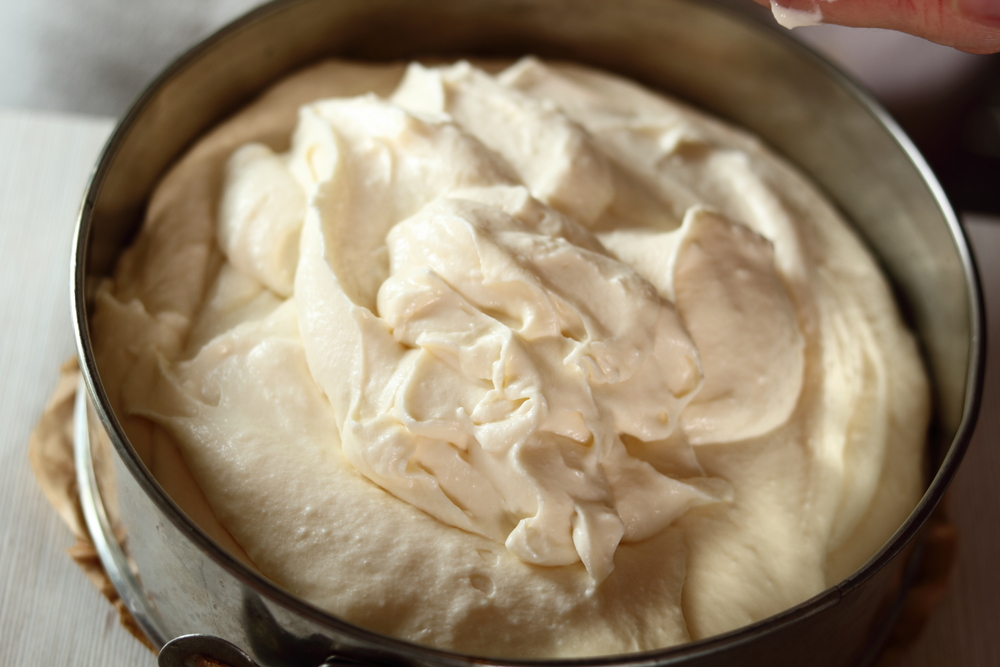
Your next task is to bring back your processed cheese. Gently fold that into your new butter, sugar, and egg yolk mixture. Your Polish cheesecake batter is coming together!
Remember your egg whites? Now it’s time to put those into your main cheese mixture as well. Mix your cheesecake batter well, but remember not to overmix as the goal is to retain as much air as you can.
Step 4: Assemble the Sernik!
And now for the grand finale: putting the Sernik together to bake.
Get your delicious filling and pour it into the crust you prepared earlier; they will bake together.
Optional: Any leftover dough can be rolled into pencil shapes and laid diagonally across the cheesecake’s surface to create a lattice, which is seen in some of the latest recipes for this Polish cheesecake.
Now, bake! Place your Polish cheesecake inside your preheated oven and bake it for 1 hour. If you forgot to preheat the oven before, you could do it now.
This is a crucial time, so keep your eye on the ongoings inside the oven. If you notice that the cheesecake’s top looks overly brown, cover it up with a piece of tin foil.
Once it’s done, turn the oven off and let the cake cool in the oven for another 10 minutes. The center should be slightly jiggly.
Let the cheesecake cool completely before serving. You can add whipped cream as a topping.

Final Words
We hope your sernik turned out exactly how you wanted. If you want to freeze your Polish style cheesecake for guests, make sure to place it in an airtight freezer-safe container while it’s still fresh. For overnight thawing, take it out of the freezer and put it into the fridge. Good luck!


 Based on 11 Review(s)
